
Since I received questions about the targa arch that we built before the Atlantic sailing, it feels justified to write an article about it on the blog. Then those who are interested can take part in our design choices, the drawing and our experiences from the construction and the use.
Before our long voyage, we planned to install solar panels on Sally, but we did not have the time to finish the job before the voyage. So on our way down the coast of Europe, we planned and bought what was needed to mount solar panels on Sally.
Requirements
We had the following requirements for the placement of the solar panels.
- Sunny location with as little shadows as possible
- Have space for 500 W solar panels (our solar panel regulator can handle a maximum of 500 W)
- Be able to sit up all the time
- Not independent of the direction of the boat
- Sit protected when sailing and docking
- Do not collect rainwater as it may impair the effect
We basically had three places to choose from
- Up on the biminin
- Advantage: Sufficient surface for 500 W, relatively easy installation
- Disadvantage: Shaded by the boom, the bimini must be raised
- Fold-out on the aft part of the man train / pulpit
- Advantage: Sunny location, there is room 500 W, direction-independent, relatively easy installation.
- Disadvantage: Can’t sit up all the time because they sit in the way for sheets to the gennaker and backstays. Placement is unprotected in connection with mooring in cramped marinas.
- On a targa arch over the stern
- Advantage: Meets all our placement requirements, can be used for other purposes.
- Disadvantage: Requires manufacture of a targa arch.
Our choice fell on a targa arch because we also wanted the opportunity to hoist the dinghy with the engine on in connection with shorter sailings. With a targa arch strong enough for the dinghy, we do not have to install davits.
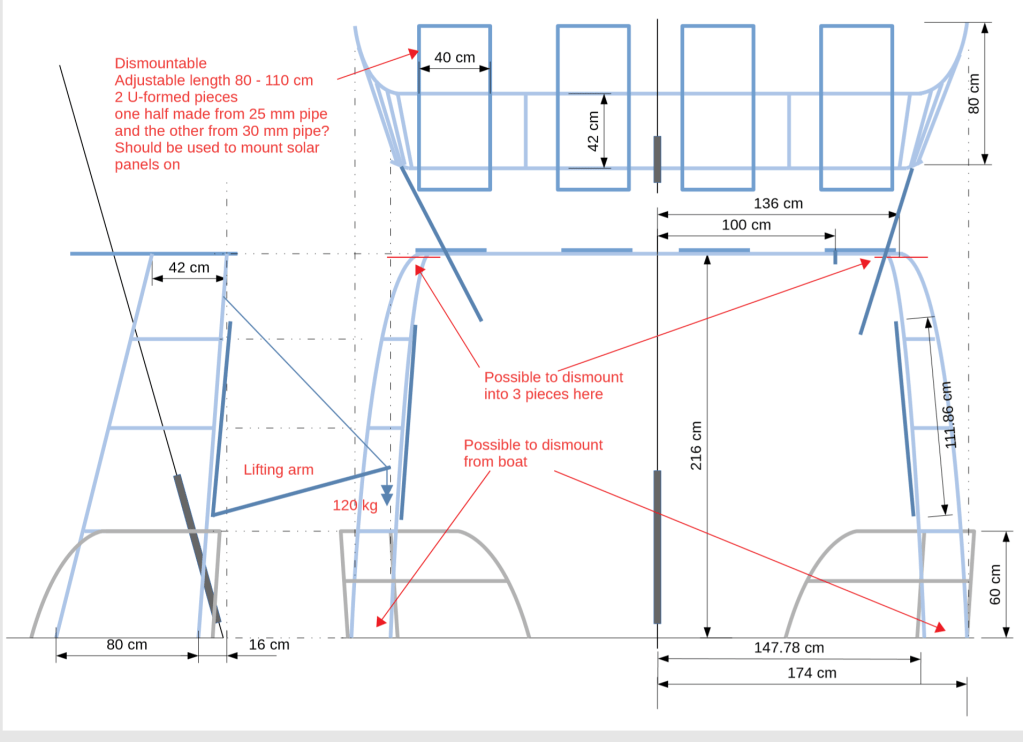
Design requirements on our targa arch
We wanted to keep the radar pole, so the targa arch needs to end in front of the radar pole. The arch must be lower than the position of the radar as there may be a risk that the solar panels would otherwise interfere with the function of the radar. I also think it would look ugly with a too high targa arch. In order to be able to dismantle the frame and transport / store it on board, it needs to be divisible into three easy-to-handle parts. To prevent rainwater from accumulating on the solar panels, they must be mounted slightly sloping. Most practical would have been to let the rainwater drain backwards, but it looks ugly. So the choice of design will be to let them slope slightly forward.
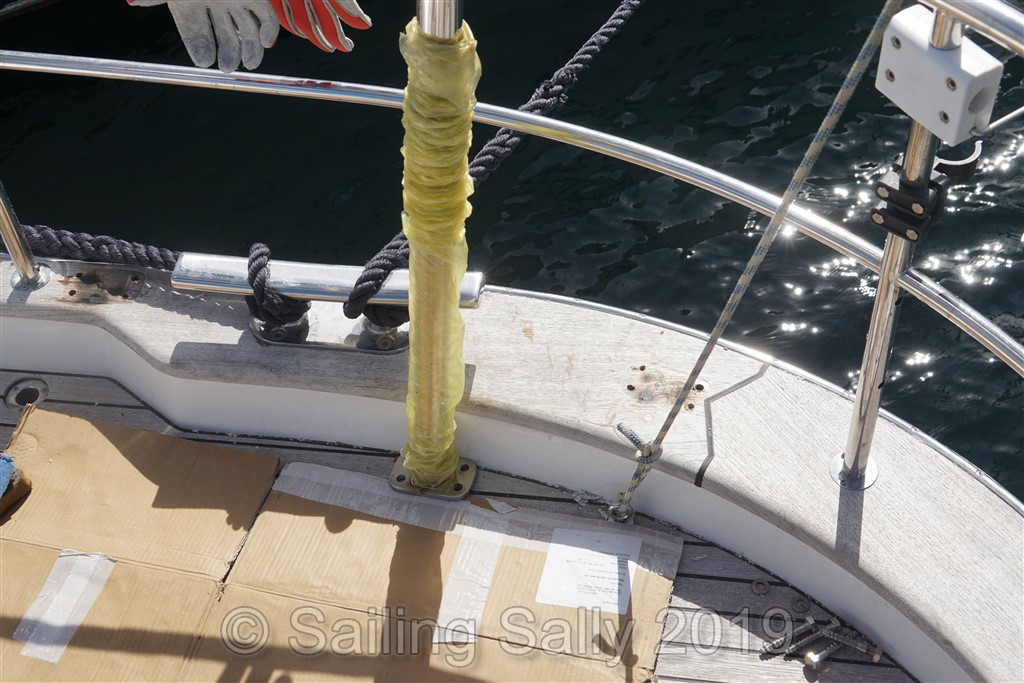
To avoid drilling holes in the deck with the risk of water penetration into the laminate of the deck, we want to mount the frame on top of the railing without it getting in the way of the aft bollards. This part of the railing consists of an upper teak strip which is mostly decoration and a lower part about 15 cm thick which consists of a polyester mixture with fiberglass powder.
A final construction requirement on the frame is that it should be possible to use it as a davit for the rubber dinghy, which with a mounted outboard weighs just over 100 kg.
It was also necessary to find solar panels with the effect and format to be able to be mounted on the targa arch.
Drawing
With these requirements in mind, I make a drawing for those who will build the targa arch for me. It will be built of stainless steel and the dimensioning will be decided by those who will build the arch.

Purchase
Since the only longer planned stop before we sail across the Atlantic is in Las Palmas, we plan to have the targa arch manufactured there. I contact a few different possible suppliers and the choice falls on Rolnautics, which provides the best offer and is close to the guest harbor. We also plan to let them paint new antifouling the bottom before the crossing. Unfortunately, we do not find any suitable solar panels in Las Palmas, so the choice falls on a Swedish supplier who has 225W panels with a suitable format and which can be delivered to Lisbon when we are there. I have a lot to tell about that delivery, but I will save it for another article. The main thing is that we finally got two working panels before we have to sail on from Lisbon.
Construction
Rolnautics chooses to build the targa arch in stainless steel pipe 40×1 mm and to fasten it to the railing with 16 pcs of 10×100 mm French wood screws. They did not have time to get a long enough drill and bolt to be able to make an assembly with a through bolt.
Unfortunately, they underestimated the time to build the arch and it became super stressful to have time to finish it before the start of ARC 2019. One of the reasons why it became stressful, was that when we arrived at the yard to assemble the arch 3 days before start, it turned out that the welder had misunderstood what the arch would look like. He had welded together an arch me with a completely different shape than the one in the drawing. Instead of the arch going inside the pulpit, he had angled out the arch to go outside of the pulpit in a wide arc. The arch looked like the protection for a large propeller, completely crazy wrong. The welder looked desperate, when I pointed out that the arch was faulty. We called the shipyard manager’s attention to correct this. After looking at my drawing and the result, he promised me that they would make a new frame that looked like the drawing. He also promised that it would be ready before we had to leav Las Palmas with ARC 2019 and that the cost would be what we had agreed on.
It was a few days of thinking about whether the arch would be ready in time or not. The day before the start, we were told that now was the time to get the arch mounted. We move the boat to the shipyard and stay there until 5 pm. Then we left with a targa frame on the boat. Now I have to connect the panels to the controller. I had prepared all the cables, so the connection itself only took an hours to do. Then the electrical system must be programmed for the new energy source for it to work together with the other chargers. I have managed to find out how the programming should be done and to my relief, the information matches what it looks like in the programming app I have installed in my laptop. After another half hour, I am done with the programming of the solar panels. Unfortunately, the sun is down by now, so we can not test that the panels really charge our batteries as intended, and that they do not interfere with the other chargers. A few hours after the start of ARC 2019, the number of boats around us decreases and I take the time to check programming and charging and it seems to work as intended. Nice, we have solar energy for the autopilot and refrigerator during the crossing!
Work in progress 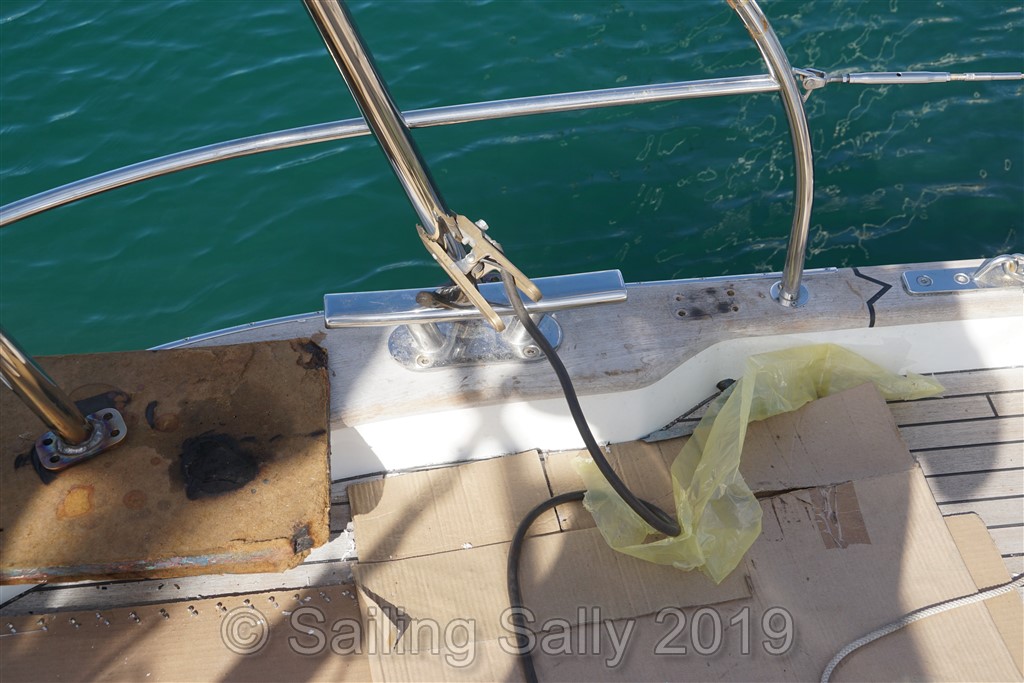
Welding 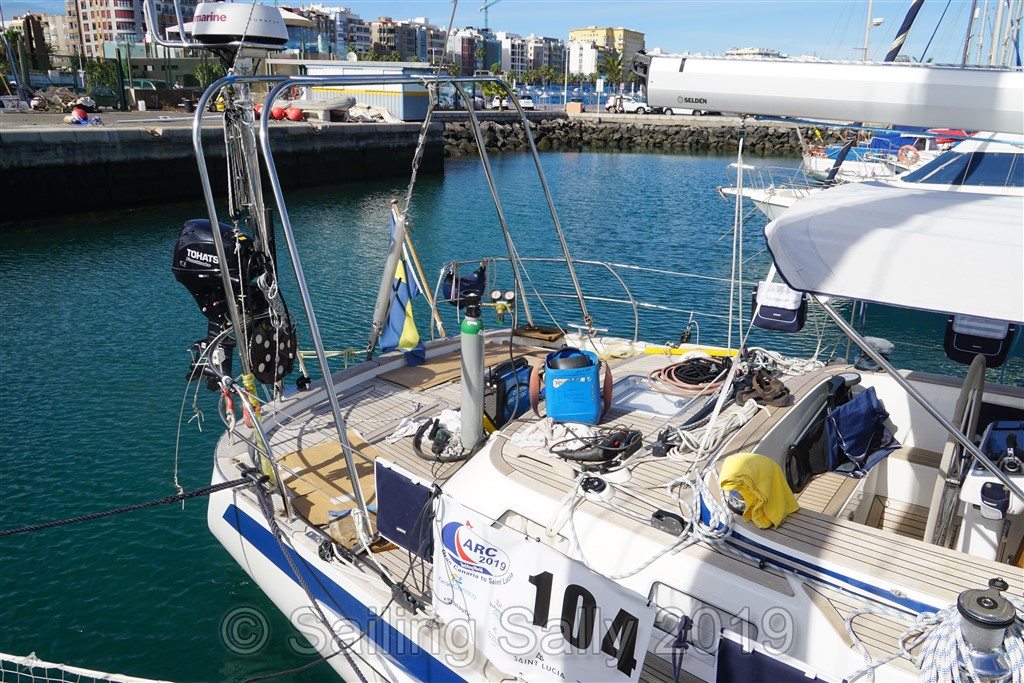
Ready soon?
Lessons learned
The targa arch is a bit unstable sideways and it would have been good with some kind of stay between the posts and crossbeams. The lifting arms for the dinghy got too big hinges and I miss a loop to attach a block to. It’s because I had not thought through just that detail in the drawing and the guys at the yard were stressed in this situation of construction and we did not have time to discuss the solution with them. A lifting arm on the port side would have been enough, as we could use the lifting arm on the radar pole. When it comes to the slope of the solar panels, it would probably have been best to make an crossbar that was slightly bent in the middle and thereby make the panels slope slightly outwards instead. I think it would also have made the crossbar a little more stable.
Moreover, it has met our expectations and it became a nice targa arch that harmonizes with Sally’s lines and size.
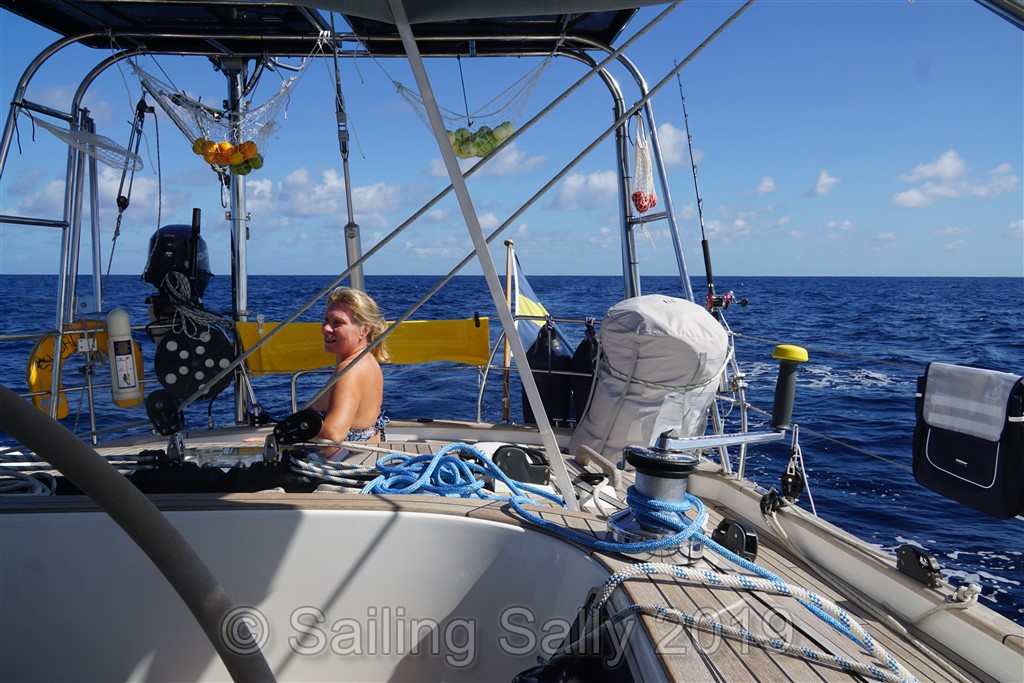
Work well as mount for our nets with vegetables 
The targa arch looks good on Sally, slightly sloped mounting of the panels 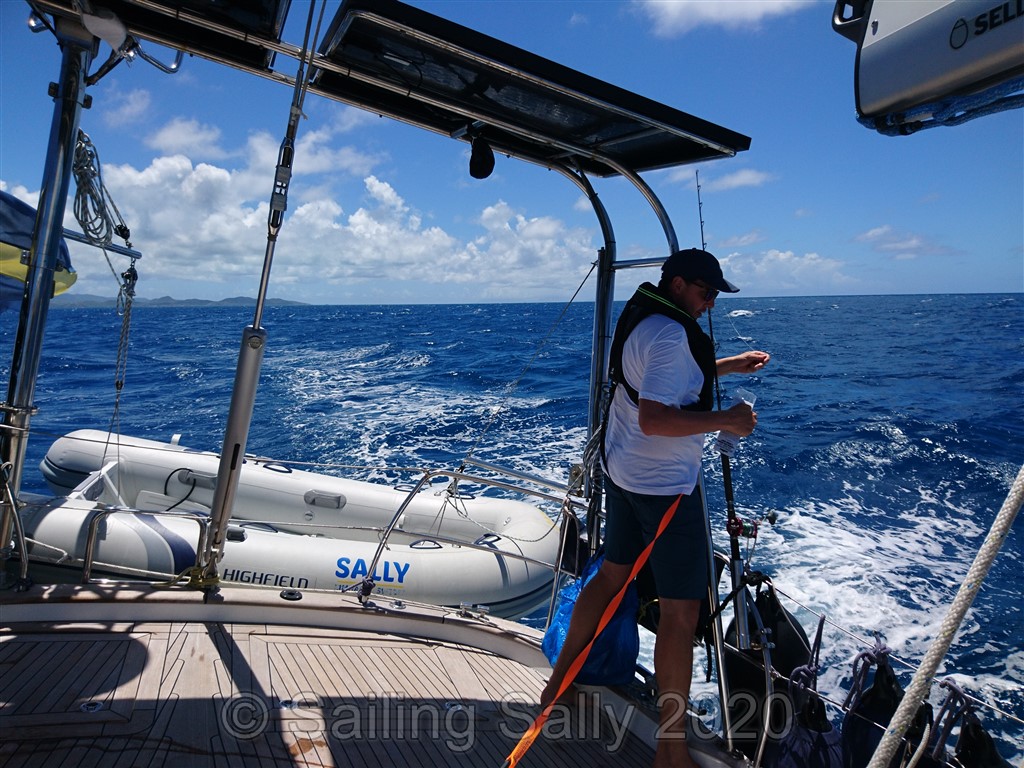
Davits for the dinghy and something to hold on to when on aft deck 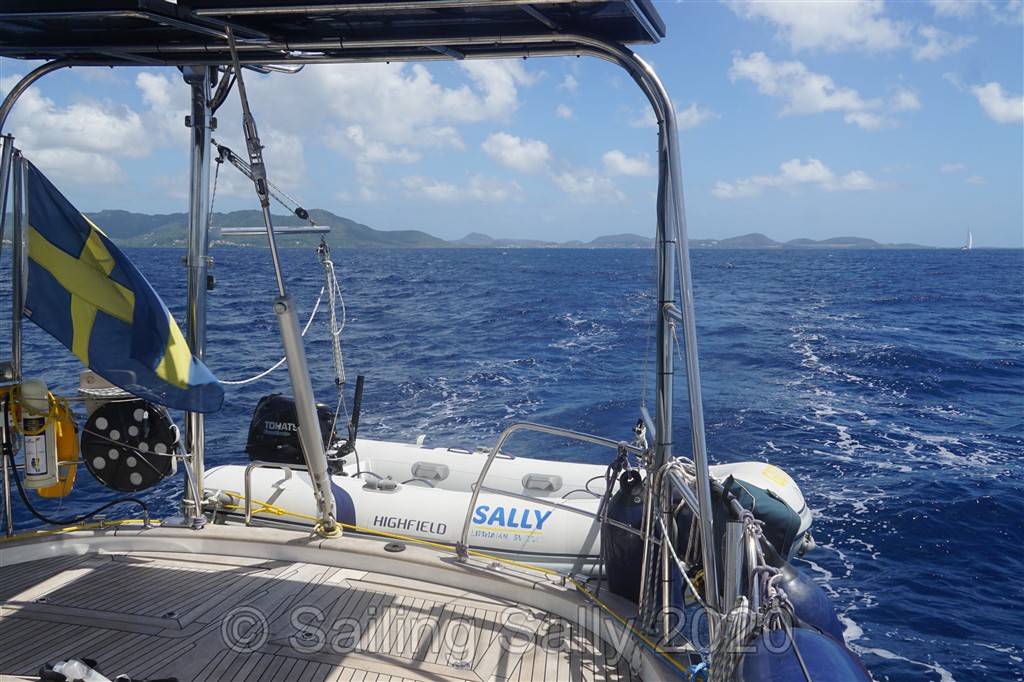
Davits for the dinghy

Du måste vara inloggad för att kunna skicka en kommentar.